| It's time for more hand made ceramics! This week I want to give a more detailed tutorial on a pretty quick project that can be a subtle room enhancer or a statement piece. This type of piece is also lends itself to adjustable sizes, multiple shapes, and can be as detailed and augmented as the creator desires. Part 1 of this tutorial is the clay creation, come back next week for the under-glazing and post-firing. | 
|
Clay Creation
| 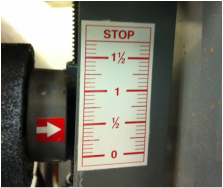
1. Slab roller settings 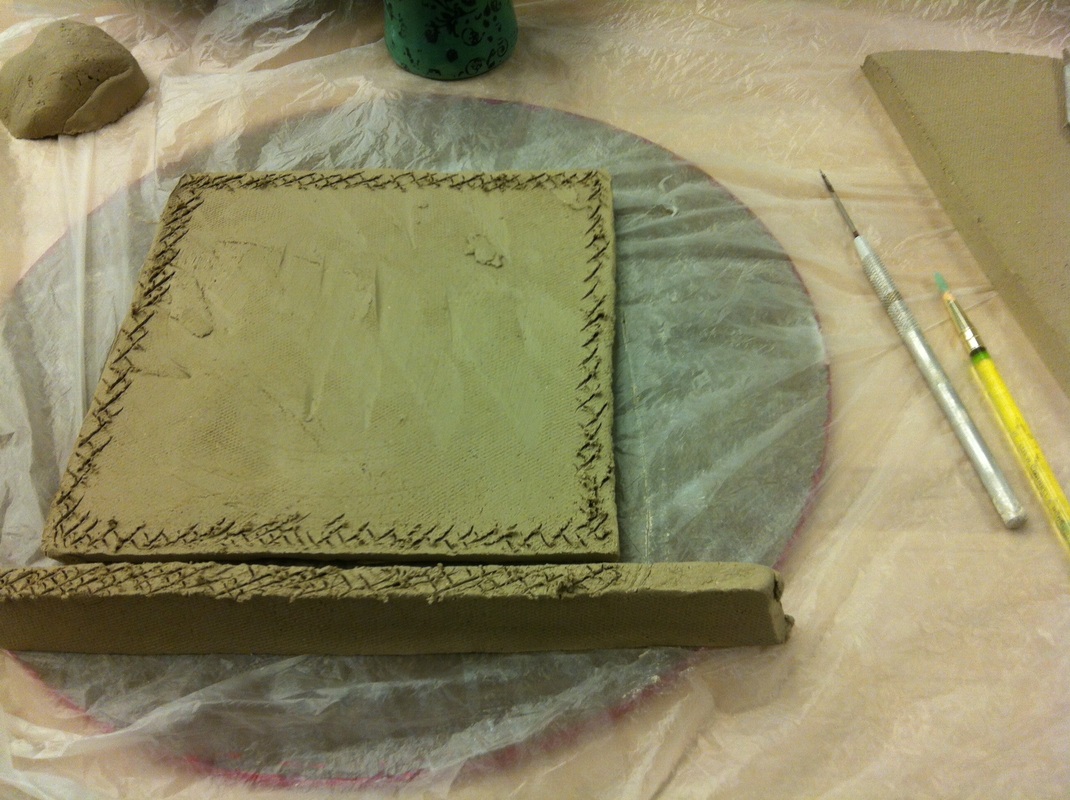
4. Score the main piece/sides 
6. Further affix the walls to the shape 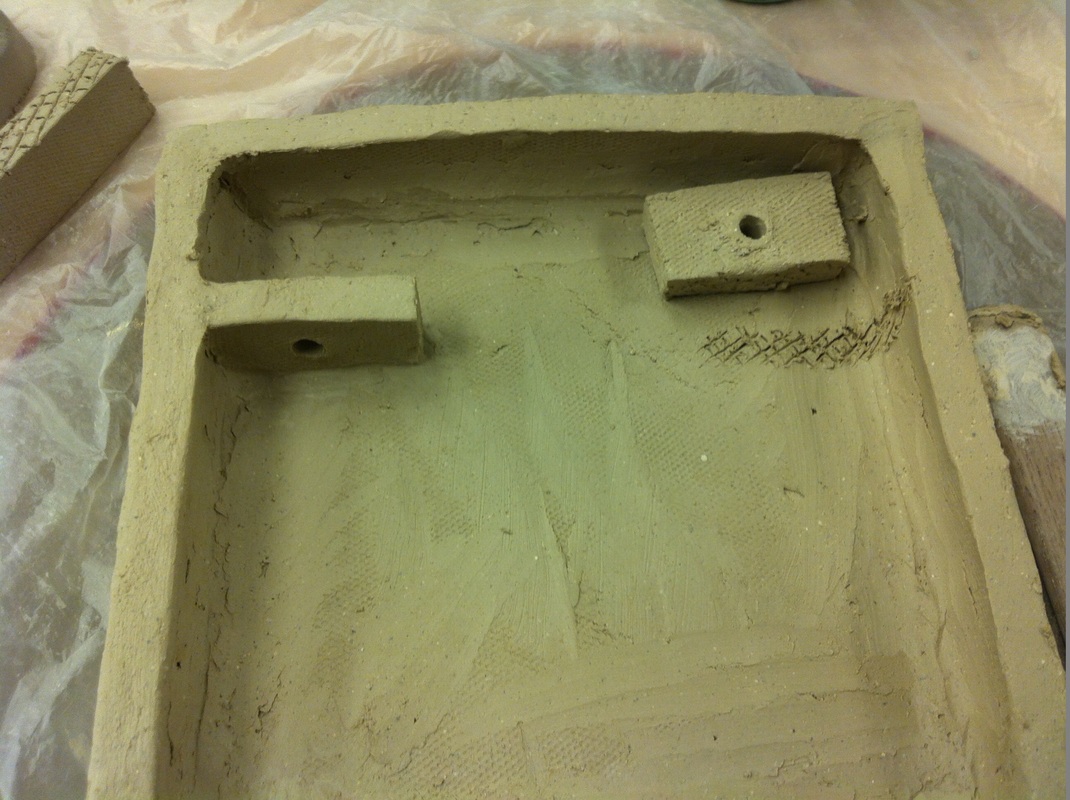
9. Attach the mounting pieces | 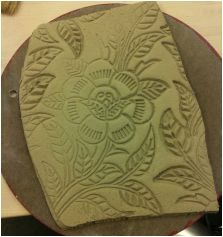
2. Stamped slab base 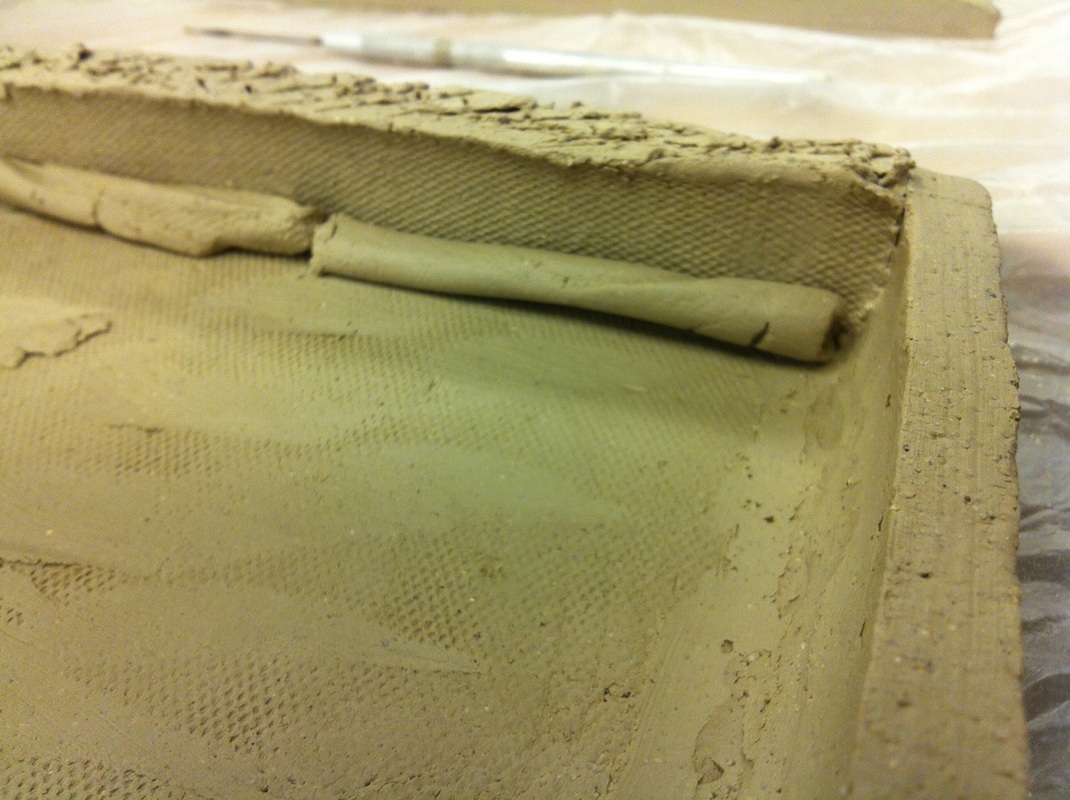
6. Roll out a few coils 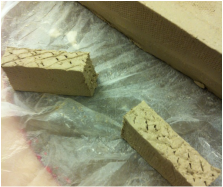
7. Create a few hanging mounts 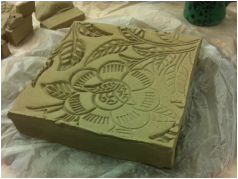
11 Finish the edges |
 RSS Feed
